A Divi Blog Template allows you to create your own design and apply it to all your blog posts. The whole thing then works completely without the Divi Builder, so the classic WordPress editor can be used.
If you don’t have Divi yet, you can try it here with a discount.
This way, you don’t have to worry about the design anymore. Only the text has to be written, possible images and videos have to be inserted.
You can just use the WordPress Gutenberg editor and add images and text.
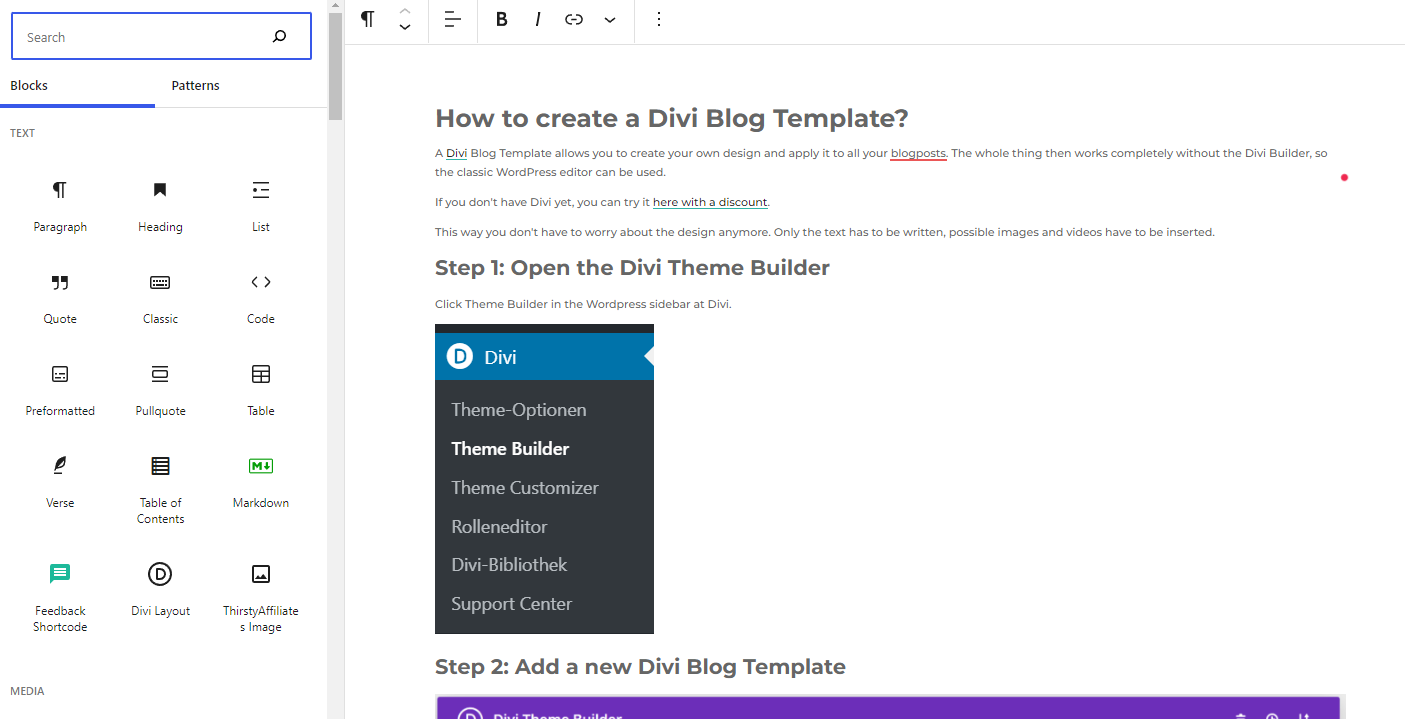
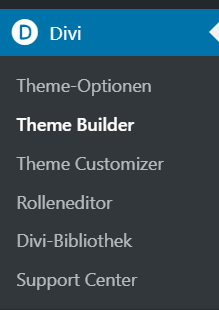
Step 1: Open the Divi Theme Builder
Click Theme Builder in the WordPress sidebar at Divi.
Step 2: Add a new Divi Blog Template
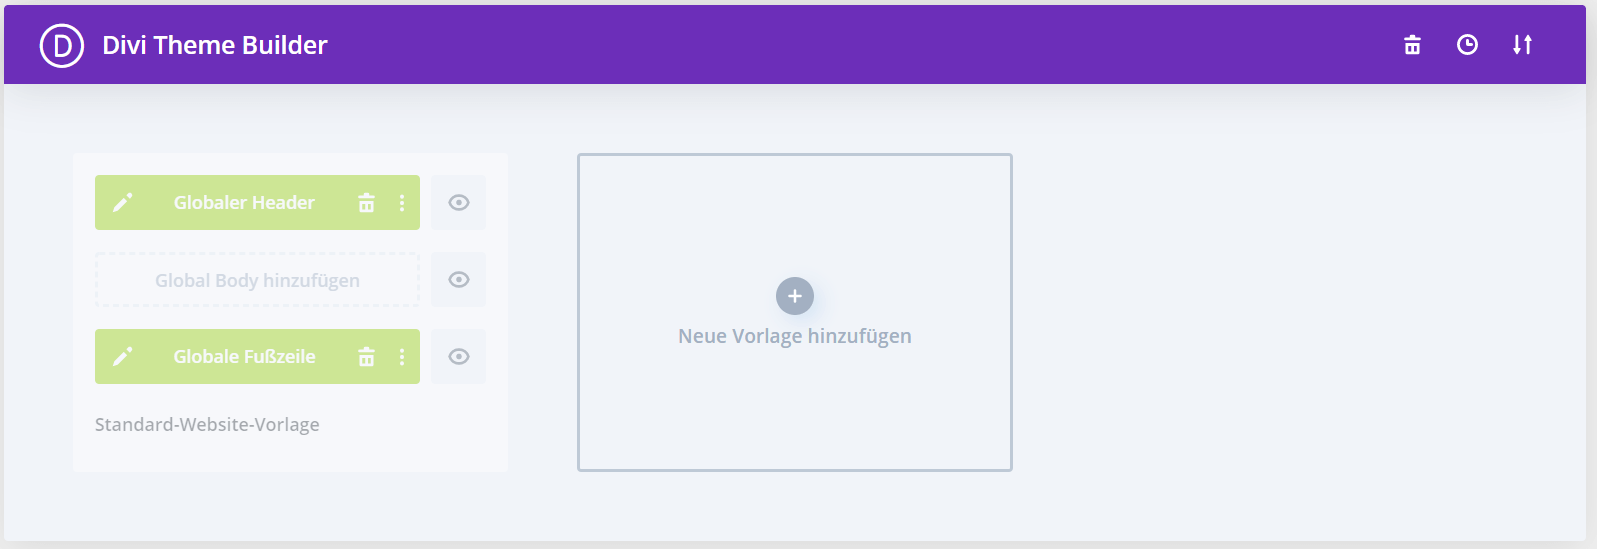
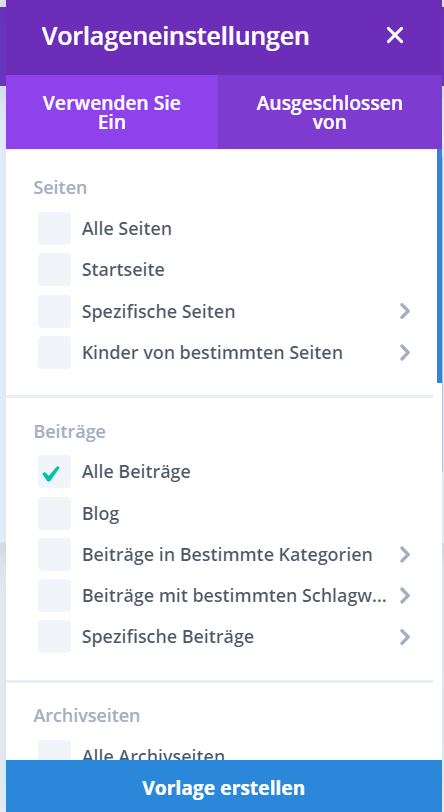
Then, in the Divi Theme Builder, click “Add New Template” and then click “All Posts”.
This will make your Divi Blog Template only be used for blog posts.
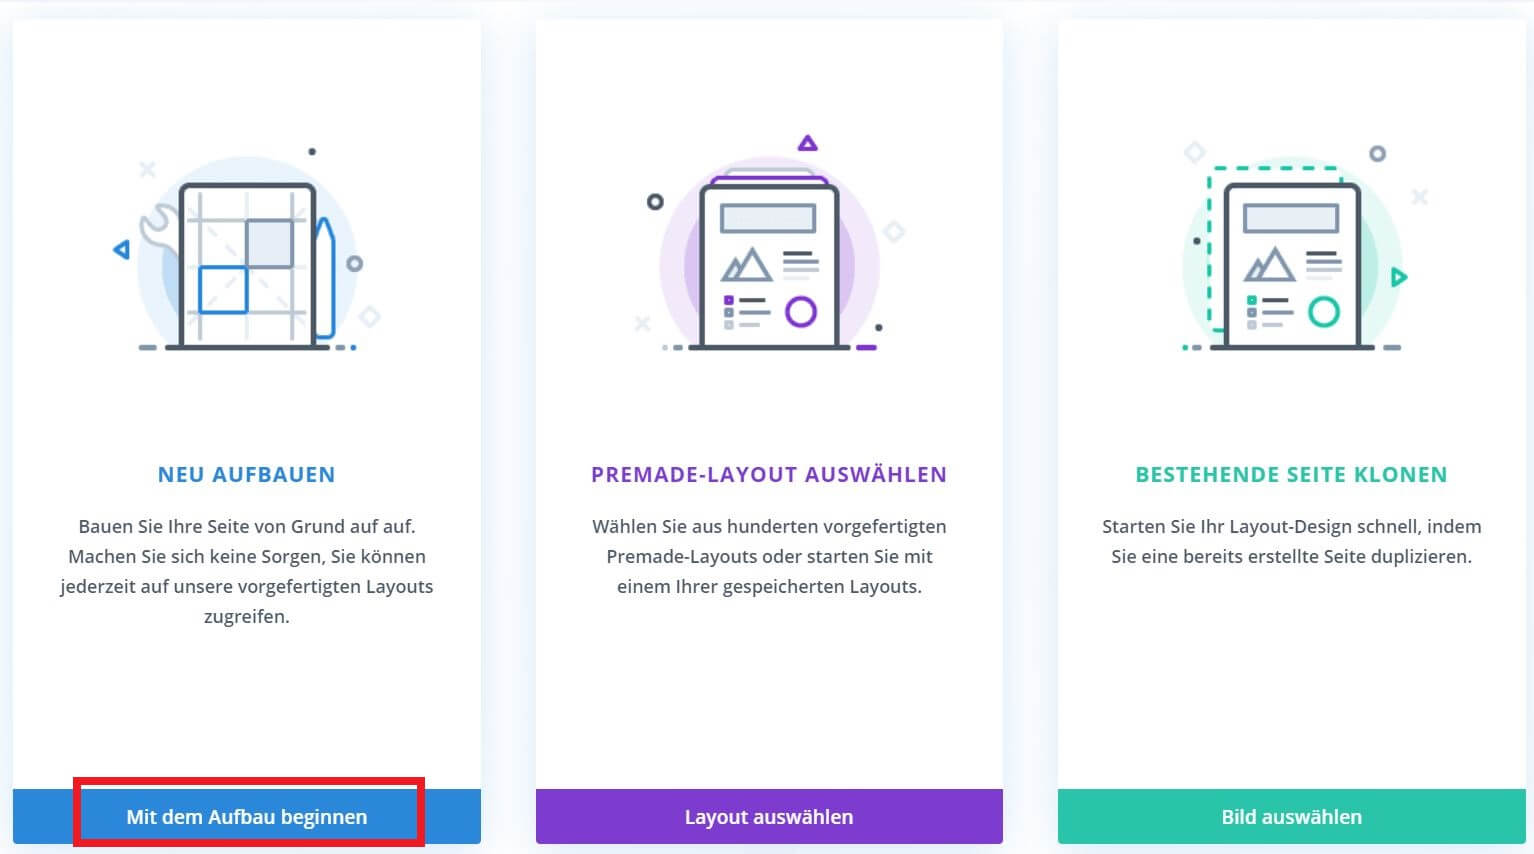
Then click on “Add custom body”. In the drop-down menu that appears, select “Create custom body”.
Step 3: Insert Divi modules
The next step is to create the template in the Divi editor.
For this, the Divi Theme offers 4 blocks that allow you to automatically insert the content of the blog posts. These modules are:
- Post Navigation – Is useful for providing navigation links to previous and next posts.
- Post Slider – Provides a slider gallery of posts sorted by newest or by category.
- Post Title – Displays the title of the post with a featured image in a handy module.
- Post Content – A necessary module for the post template to display the content of a post.
Now you just need to add the modules that you want to fill with dynamic content and the ones that should remain static on each page and you have created your blog template.
a) Post content
One module that should not be missing from your blog post is “Post Content”.
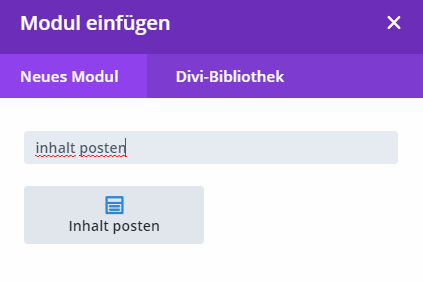
After that, you can use the Divi cog to apply your style from your main pages.
TIP:
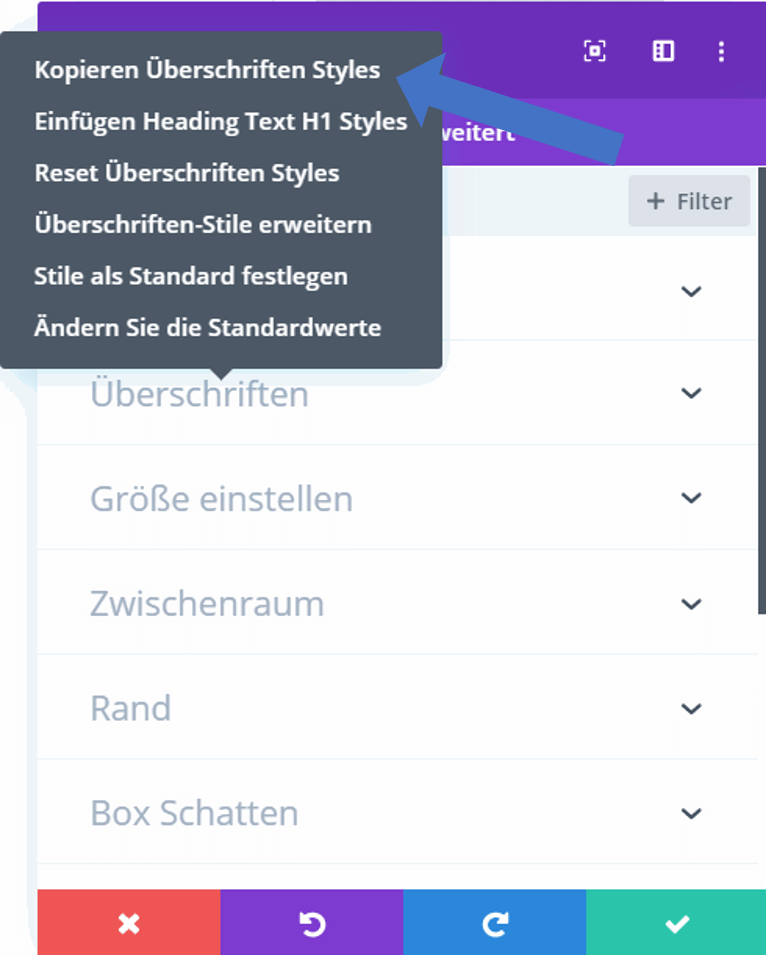
Go to the module settings and click, for example, on Copy Headings Styles. Then switch to your “Post Content” module, right-click on Headings again and click on “Paste Headings Styles”. Now you have easily transferred your heading styles.
b) Post title
The disadvantage of the post title module is that it automatically comes with an image:
If you don’t want this, just insert a text module and click the Use Dynamic Content icon.
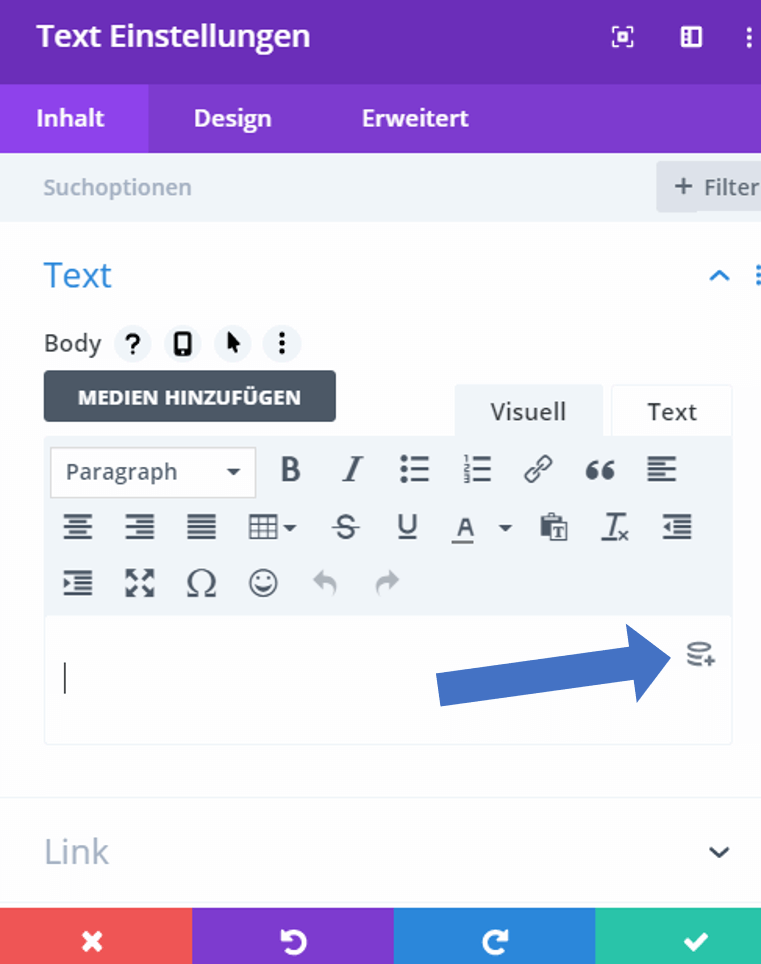
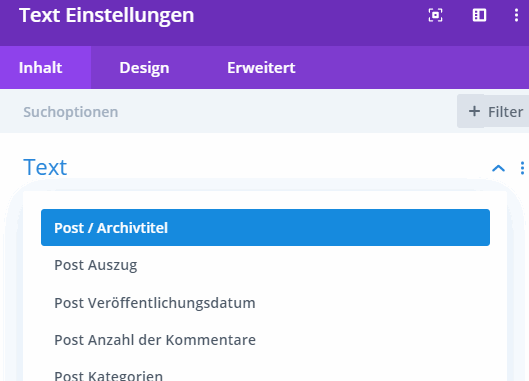
Here you select Post / Archive title.
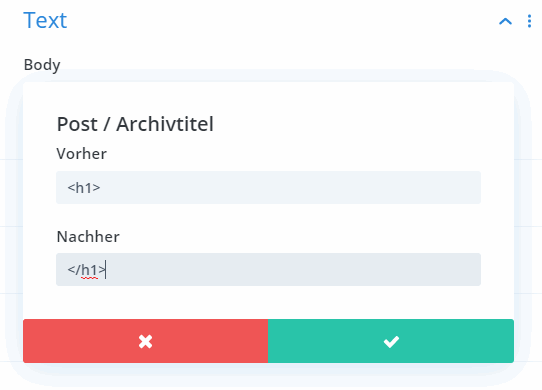
Then, click on the gear at Post / Archive Title and add an H1 tag before and after it to mark it as an H1 heading.
After you save the theme layout, it should appear in the frontend. If it doesn’t, please make sure to clear the cache.
Download Divi Blog Layout
Conclusion
In conclusion, a Divi blog template can save you a lot of effort and makes it possible to create blog posts easily even without programming or Divi knowledge. That’s perfect, if your clients want to create them.
You can find an example of how such a blog post template of mine looks like in this post or in others here.
TIP:
With a bit of custom CSS, the website can be made more readable.
/* BLOG TEMPLATE */

/* Inserts a space above and below each image */
#main-content .et_pb_post_content img {
	margin: 20px 0px;
}

/* Inserts a space above each heading */
#main-content .et_pb_post_content h2, #main-content .et_pb_post_content h3,
#main-content .et_pb_post_content h4, #main-content .et_pb_post_content h5 {
	margin-top: 40px;
}
If you don’t yet have Divi, you can read my review here.
