Want to create a professional business email address for free?
A business email address uses your company’s name instead of a Gmail, web, or iCloud domain.
In this article, we’ll show you how to create a business email address in less than 5 minutes.
What is a business email address?
Most beginners use generic free business email accounts without domain names, which is not very professional. For example:
Non-Professional Email: [email protected], [email protected]
Professional email: [email protected], [email protected]
Since anyone can create these generic email accounts, it is becoming increasingly difficult for customers and other businesses to trust such email addresses as legitimate business email accounts.
An email with a business extension, such as microsoft.com can only be created by the owner of the microsoft.com domain. In contrast, anyone can create an email like [email protected]. This brings us to one of the advantages of a business e-mail: trust.
Why do I need a business e-mail?
Here are all the advantages, why you need a business e-mail.
- professional look
- shorter and easier to remember
- trust, because the recipient knows that it comes from the company
- promotion of your brand
If you want your customers and other businesses to take you seriously, then you should use a professional business email address right away.
What do you need to create a business email address?
To create a business email address, you need a domain name and email hosting.
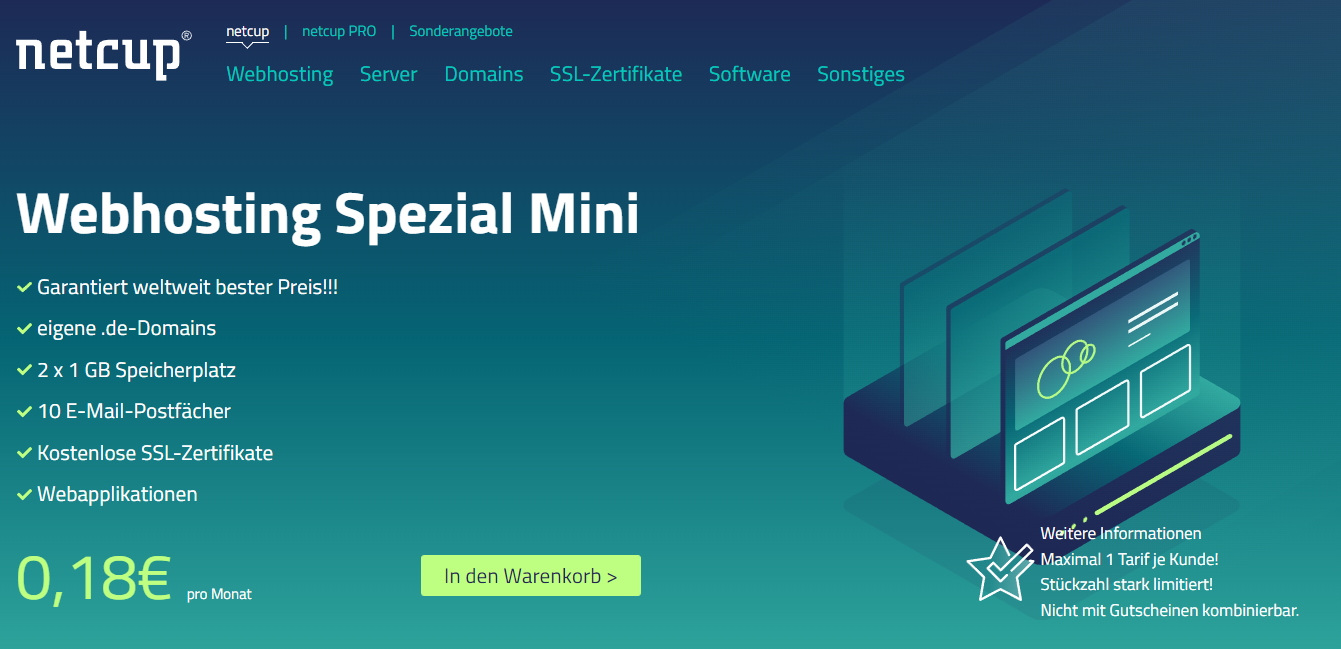
You can get both from netcup for only 18ct per month. In the web hosting special mini tariff.
Step 1: Secure domain name
First, you need to secure the domain. You do that by purchasing your web hosting and clicking on the “Add to cart” button.

With this plan, you have a free domain and 1 GB of email storage with 10 email addresses.
Choosing a good domain name is crucial for your business, but don’t spend too much time on it or you won’t get past this step.
Step 2. Create your free business email address
In the dashboard of your hosting account, you need to click on Products. The control center of netcup can be found in the dashboard.
Then you select your product and click on email addresses.

Step 3: User your business e-mail
After you create your email, you will be redirected to the “Email Accounts” page. There you will see your newly created email address.
You can check your emails online, for one, or add them to Outlook and iOS mails, etc., via the question mark.


