
You can get the layout as Elementor Template for free at the bottom of this post.
1. Download the Elementor Filter
First you need to download the free Elementor Filter. Just visit the plugin’s page and download it, or get it here for free.
2. Upload and activate the plugin
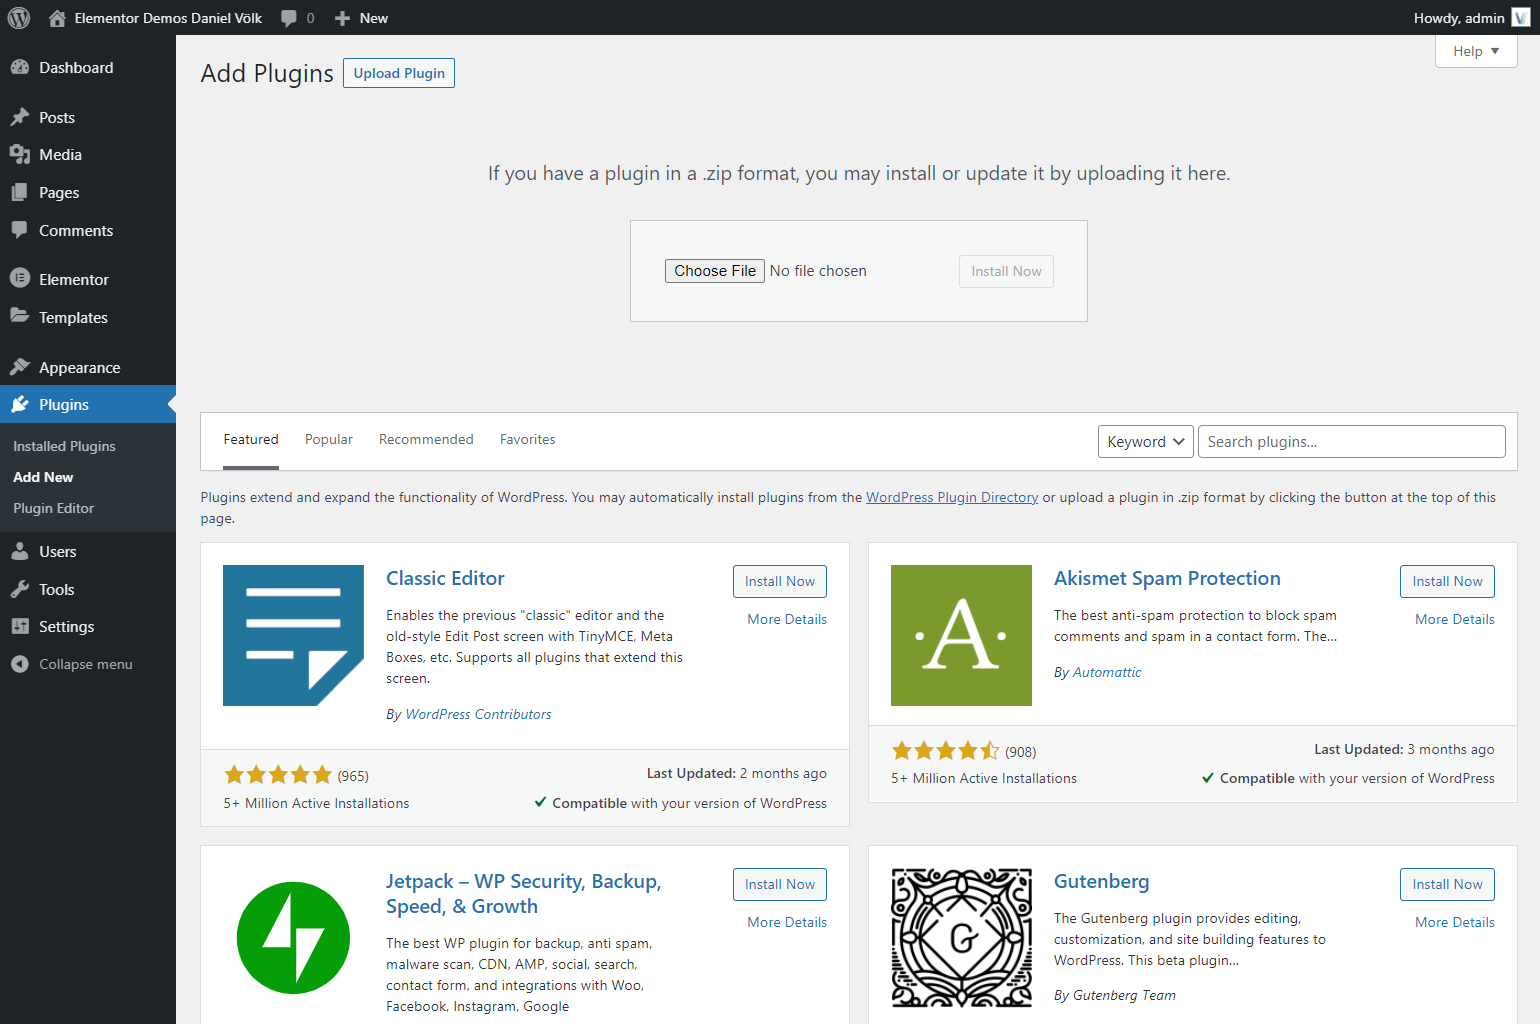
After you downloaded the plugin, you have a zip file named elementorfilter.zip. Upload this file to your WordPress website. Go to Plugins → Add New → Upload Plugin.
Here you can choose the file or drag and drop it. After that, click on Activate.
3. Create a new page or open an existing one with Elementor
Now we can create the layout, that we want to filter. Either create a new page by clicking on Pages → Add new → Elementor or open an existing one.
4. Create button section
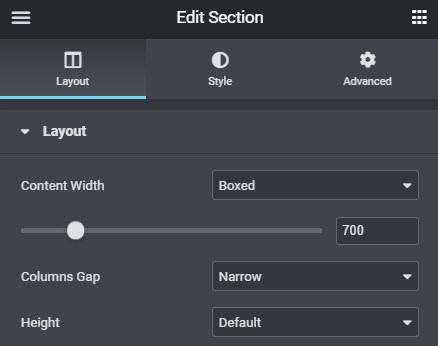
Add a new section with 3 columns
This will be the section for our filter buttons. In this tutorial, we will use 3 buttons to display all team members, team members in the marketing department and people from the sales team.
Set the content width to 700px or a wider width, if you have more than 3 buttons.
Set the Columns Gap to Narrow.
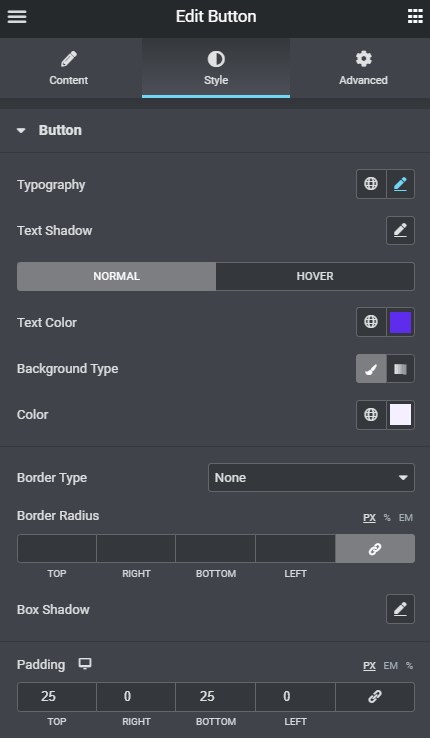
Add 3 buttons
Add a button to each column and style them as you like. Here is how I styled them:
5. Add button classes
Give the buttons the ef-button class. You can do this at Advanced → CSS Classes.
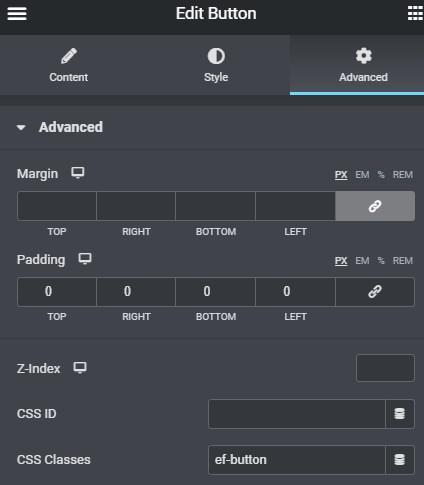
For the Marketing and Sales buttons, you also have to add efc-marketing and efc-sales. By adding those classes, you tell the Elementor Filter to search for columns with that class and only show them.

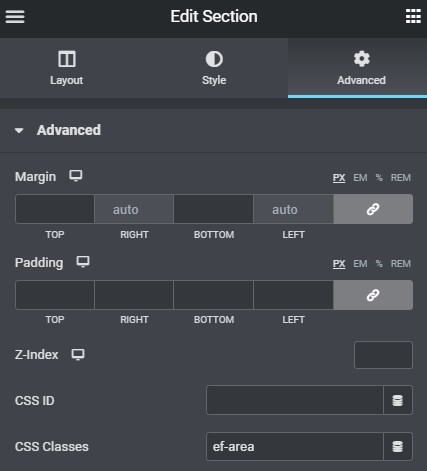
6. Create filter section
Now we create another section with 4 columns, where our team members will be. Go to Section Settings → Advanced and give it the class ef-area.
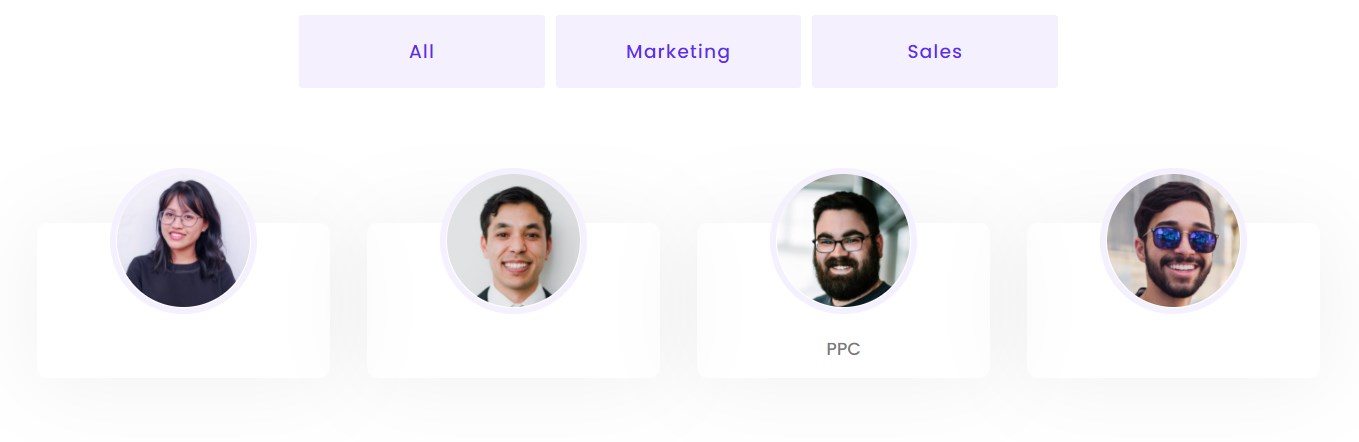
7. Add team member images
Add Styling:
Width: 50%
Border – Radius: 50%
Border Width: 6px
Border Color:#f4f0fe
8. Add Name and Social Icons
Add two text editor elements and enter the names of your team members.
After that, you add a social icons element and add the social icons you want. For icon color, I used #5e2ced and background #f4f0fe.
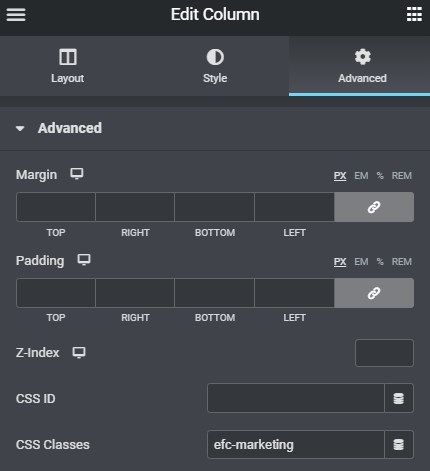
9. Add filter classes to your columns
Click on edit column and go to Advanced.
Here you add the filter class from the buttons. For example, a person working in the marketing department gets the class efc-marketing.
10. Add Custom CSS
Add an HTML element and add this custom CSS.
<style>

  /* remove margin below */
  .elementor-widget-text-editor {
      margin-bottom: 0px !important;
  }

  /* icon image header */
  .team-section-icon .elementor-widget-container {
    padding: 21px 25px 29px 25px;
    background-color: #F4F0FE;
    border-radius: 50%;
    max-width: 90px;
    margin: 0 auto 0 auto;
  }

  /* filter buttons full width */
  .team-section-buttons .elementor-button {
      width: 100%;
  }

  /* social media icon size */
  .elementor-icon{
      box-sizing: content-box;
      width: 26px !important;
      height: 26px !important;
      padding: 5px;
      border-radius: 10px !important;
  }
  .ef-area .fab {
      font-size: 13px;
  }


/* Filter Animation */
.ef-animation {animation: dv-animation; animation-duration: 2s; animation-delay: 0s!important;}

@keyframes dv-animation {
  from {opacity: 0; transform: translatey(50px);}
  to {opacity: 1; transform: translatey(0);}
}

  /* margin below column */
  .ef-area .elementor-column {
    margin: 17px 17px 110px 17px;
  }

  /* active button */
  .ef-activebutton .elementor-button {
     background-color: #5E2CED !important;
     color: #fff !important;
  }

  /* shadow behind team image */
  .ef-area img {
      box-shadow: 0px 12px 18px -6px rgb(0 0 0 / 14%);
  }


</style>
11. Download the Layout
Just add your name and e-mail and get the layout for free.


“10. Add Custom CSS
Add an HTML element and add this custom CSS”
Where can I put it on my page ? Thanks
You can use the HTML widget for that 🙂
hi, the active button style doesn’t work
You need the Premium version for that feature to work. 🙂
You can get it here
Hello, thank you for the great plugin and guide Daniel, however I don’t think the animation is working for me. Am I supposed to apply the .ef-animation class to an element on this page or something?
You just need to add a little bit of CSS. You can find some examples here: https://elemdocs.danielvoelk.de/styling/filter-animation-premium
Do you already have the Premium version?
I realized not too long after I need the premium version for this. Thanks for the help Daniel!
Hi Daniel, do you have a guide for the restaurant style filter? I have done the plugin but not sure it’s all working correctly.
I have a general knowledge base, that you can find here: Elementor Filter Documentation.
If you have a detailed question, please let me know.
I have a premium version, If I make the new container with flexboxes it doen’t work. How come?
Right now it’s in beta. Please send me an e-mail and I send you the newest plugin version. 🙂
I added it to my site and followed the instructions and it still isn’t working. I’m using flexboxes. Can you assist?
Did you insert the Premium license key in the settings?