
Once you have the Divi Theme installed on your WordPress website, you can use the Divi Builder and pre-built layout packages to quickly and easily create and customize your website.
However, if you want to add a lot of custom CSS and PHP features to give your site a truly unique look, you should create a Divi child theme.
Let’s look at the benefits of creating a Divi child theme, and then go through how to do it.
Why create a Divi Child Theme?
Creating a child theme and thus keeping your changes in a folder other than your theme offers many advantages.
- You can update the parent theme without losing your customizations. This is important if you use a theme like Divi that is updated frequently.
- You can easily copy the child theme to a new website and thus transfer the styles.
- Thirdly, you can easily edit the files with your favorite editor, for example via Filezilla.
Now that you know the benefits of creating a Divi child theme, let’s show you how.
How to create a Divi Child Theme
Step 1: Create a folder for your Divi child theme
To begin with, you need to create a folder where you can put all the template files and assets of your Divi child theme. To create this folder you can use the file manager. You can also use FTP access to create the folder.
Click on File Manager at your WordPress hosting provider to start creating the Divi child theme

Open the file manager
Click on the wp-content folder.
Find the folder named themes. Create a new folder here with the name divi-child.
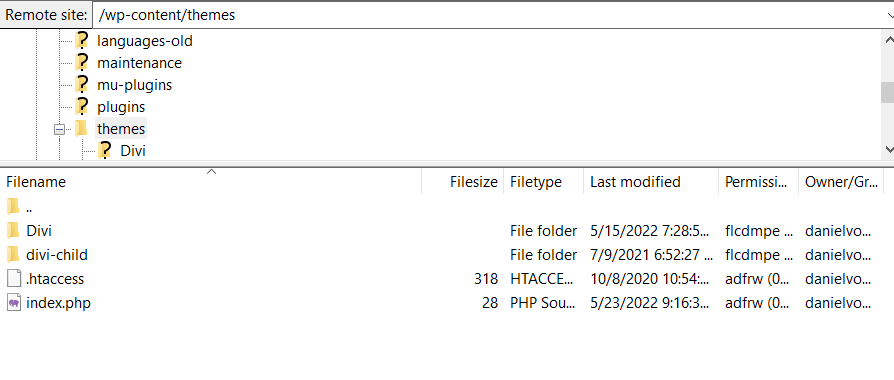
This folder will be the directory for your Divi child theme.
Step 2: Create the CSS stylesheet for your Divi child theme
Next, you need to create a stylesheet that contains all the CSS for your Divi child theme. You will need to use a text editor to do this. For this demo, I’m using VS Code. This is my favorite editor.
Create a new text file and name it style.css.
Next, you add a header comment. This header comment is required for the stylesheet to actually work. It contains basic information about the child theme, including that it is a child theme of the Divi theme.
You really only need to include two things in this header comment: the name of the theme and the template (i.e. the name of the parent theme in our case Divi). If you want to publish or sell your child theme, you can include more information like a description, the author’s name and the version.
Here is an example of a full header comment for a Divi child theme:
/*
 Theme Name: My First Divi Child Theme
 Theme URI: https://danielvoelk.de
 Description: Best Divi Child Theme
 Author: Daniel Voelk
 Author URI: https://danielvoelk.de
 Template: Divi
 Version: 1.0.0
*/

/* Insert your CSS here. */
The /* and */ characters are a comment in CSS.
Later we’ll look at how to add custom CSS. Now click Save to save the stylesheet to your child theme’s directory.
Step 3: Create the PHP file
Now it’s time to create the most important file.
Create a new file with the name functions.php.
Paste the following code:
<?php

/**
* Add Child Theme Styles
**/
function dv_code() {
  // parent style
  wp_enqueue_style( 'parent-style', get_template_directory_uri() . '/style.css' );
}
add_action( 'wp_enqueue_scripts', 'dv_code' );
With this code you overwrite the styles from the Divi Theme with your Divi child theme styles.
Step 4: Install and activate your Divi child theme.
Log in to your WordPress dashboard now.
Click on Design – Themes. Now you should see a new theme here with the name you specified in style.css.
Click Activate on the theme.
Your child theme is now live – but it looks exactly like your parent theme. Now the CSS is missing. To make it look different, all you need to do now is add your CSS to the CSS file.
Of course, you can also add your JavaScript files via the Divi Child Theme.


