")
If you are looking how to add a Shopify domain, then this is the right place for you. In this article, we will be discussing how to add a shop name as a subdomain on your website. This tutorial will help you in adding a new domain and also helps you in avoiding any issues that may arise while doing so. Moreover, it will also help you in getting more traffic to your site.
In this post, I am going to explain step by step process of how to add a shop domain on your website.
What is a Domain?
A domain is an address or URL (Uniform Resource Locator) which points to a specific web server. It can either be a single word like “google.com” or a longer phrase like “www.google.com”. The domain name is what people type into their browsers when they want to visit a particular website.
Why do we need a domain?
The main reason why we need a domain is that it makes our websites unique. If you have a blog with just one page, then there is no way anyone would know where to find your content. But if you have a domain, then people can easily search for your content using keywords.
For example: If you own a website called ‘mywebsite.com’, then someone who wants to read your content can simply type mywebsite.com into his/her browser and get directed to your website.
So, if you don’t have a domain, then you are missing out on a lot of opportunities.
How to Add a Shopify Domain?
There are eight simple steps involved in adding a shop name as a domain on your website. Let us discuss each step in detail.
Step 1 – Create a New Account Or Login
First thing, you need to create a new account on Shopify. You can use your existing email ID or create a new one. Once you have created a new account, log in to your Shopify dashboard.
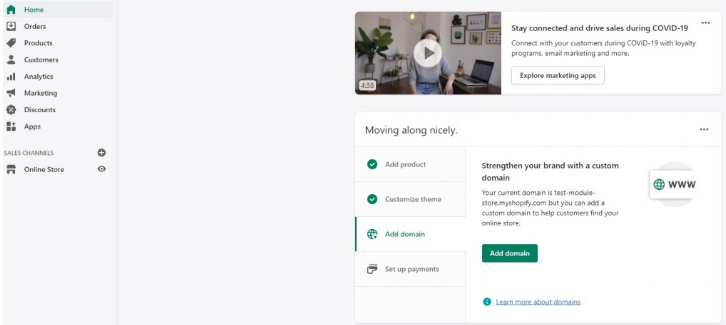
Step 2 – Choose a sales channel
Now click on Sales Channels from the left menu bar. From here, select the option of ‘online Store’.

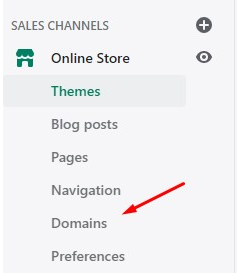
Step 3 – Locate and Choose Domain Name
Once you have selected the online store, you will see a list of all domains available for sale. Click on the domain name that you wish to purchase and choose the plan that suits your needs.
Step 4 – Connect existing domain name
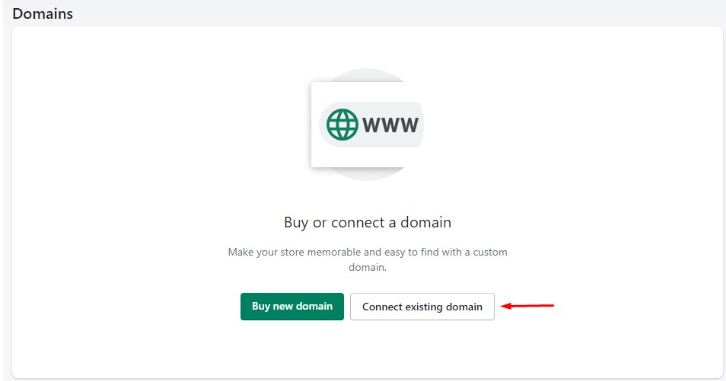
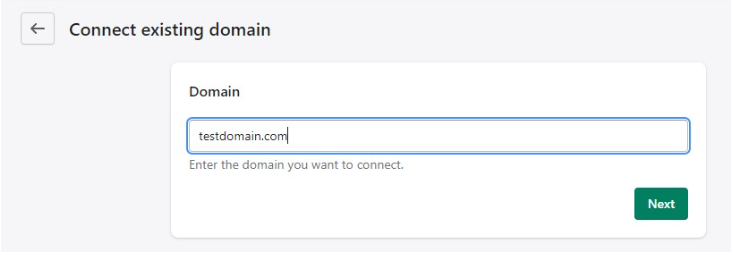
After selecting the domain name, you will be redirected to the domain registration page. Here, you need to enter the details of your current domain name.
Step 5 – DNS setting points to Shopify server
Next, you need to make sure that the DNS settings point to your Shopify server. To do this, click on the DNS tab located at the top of the screen. Then, scroll down until you reach the section named ‘DNS Settings’.
Step 6 – Update Shopify IP address
You will now need to update the IP address of your Shopify server. For this, click on the IP Address tab located at the top. Enter the correct IP address 23.227.38.32 and save the changes.
Step 7 – Update your CNAME record
If you are already hosting a website on another platform, then you need to change the CNAME record associated with your domain name. To do this, go back to the DNS tab and locate the section named ‘CNAME Record’.
Step 8 – Check whether everything is working fine
Finally, you need to check whether everything is working fine. Go back to the DNS tab.
Make sure to also add a DMARC record to your domain, so the e-mails won’t end up in spam.
How to add a Shopify domain – Final words
Adding a domain name to your website is very easy. However, it does require some technical knowledge. So, before purchasing a domain, ensure that you understand how things work.
Also, remember that once you buy a domain, you cannot change its name. This means that if you want to change the name of your domain, you will need to buy a new domain again.
Hope you liked this post! Please share it with your friends that also might find it helpful.


